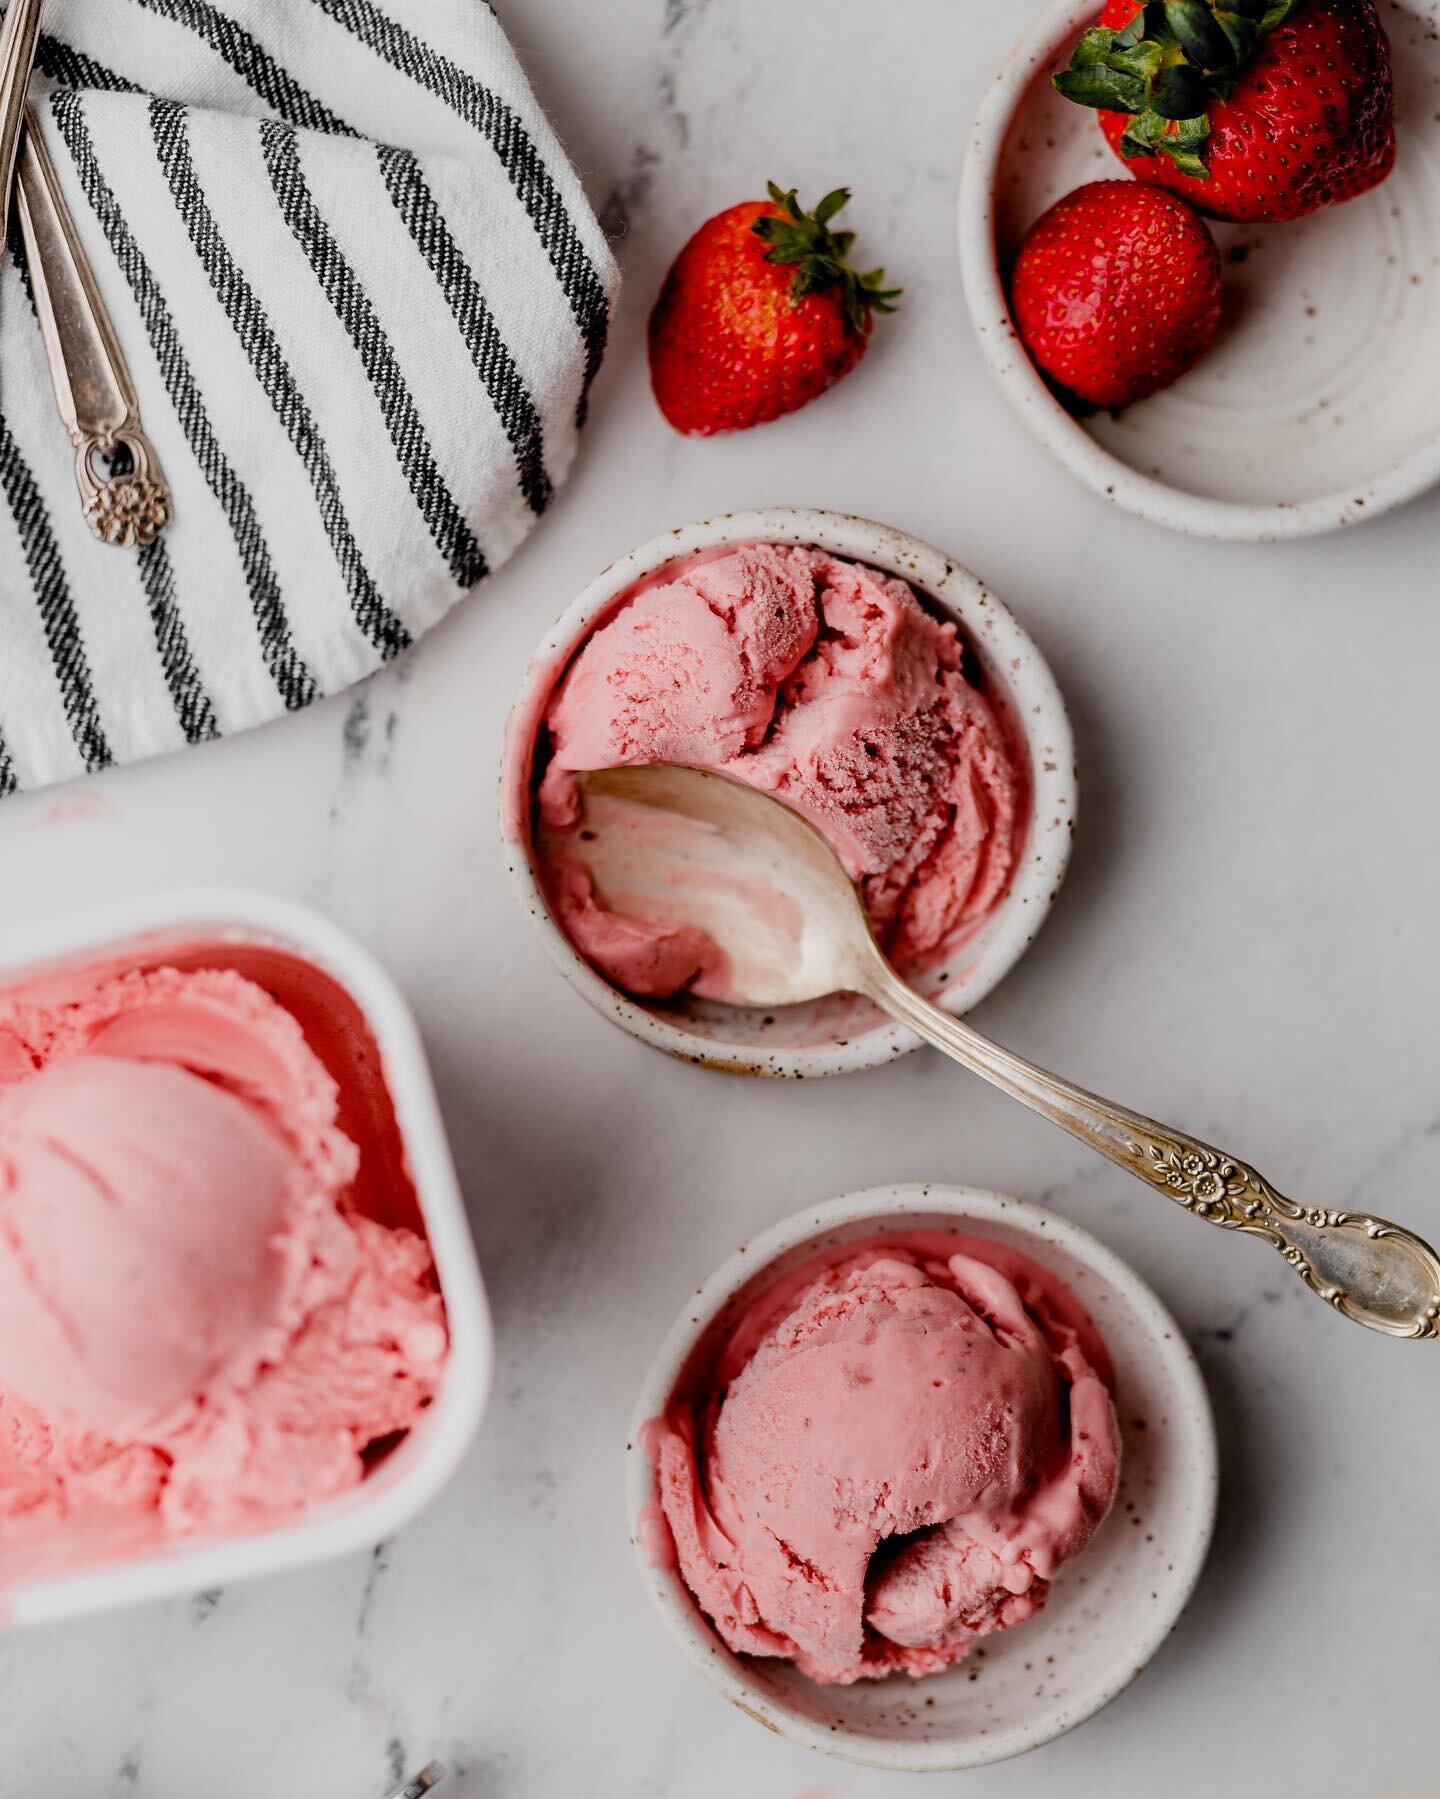
Sprinkle Cake Ice Cream
This ice cream is the epitome of happiness with a sweet vanilla base, lots of sprinkles and a homemade vanilla cake swirled throughout. It’s basically deconstructed ice cream cake—yum!

July is national ice cream month so it’s the perfect time to introduce one of my favorite creations ever—Sprinkle Cake Ice Cream. This sweet treat boasts a vanilla ice cream base that is swirled with a homemade vanilla sprinkle cake and loaded with sprinkles. It’s the kind of ice cream that sparks joy, and tastes a lot like ice cream cake, which is such a nostalgic and special dessert.
What Makes This Ice Cream Special?
Homemade ice cream is just delicious. The freshness and flavor can’t be beat, and with no chemicals or preservatives—it’s ice cream in its purest form. I created this flavor to have an old-fashioned custard base that is churned using an ice cream machine. This is the ice cream machine I use, and I can’t recommend it enough. Before upgrading to this model, I used this one, which is perfect for those just starting to make homemade ice cream.
As far as flavor, this ice cream is packed with quality vanilla in both the ice cream base, and the cake itself. The recipe calls for five egg yolks, which gives the ice cream such a rich and delicious flavor—almost that of French vanilla ice cream (one of my favorite selections growing up). By using a combination of milk and heavy cream for the ice cream base, the consistency is creamy without feeling too heavy or bogged down, and the texture is “chefs kiss”. Oh, and the sprinkles aren’t just for show. Aside from being cheerfully festive, they add a delicious crunch and texture to the ice cream.

Ice Cream Tips and Tricks
Making homemade ice cream doesn’t have to be intimidating, and is actually an enjoyable experience. Below are a few tips and tricks to make the process even easier.
1.) Thoroughly freeze the ice cream bowl before churning the ice cream. This is critical. My recommendation is to place the ice cream bowl into the freezer three days before making the custard base. The colder the ice cream bowl, the better the ice cream. For the Cuisinart model, there is a liquid inside the bowl that can be heard swishing when not frozen, but when frozen properly, there will be NO movement of liquid when the bowl is inverted.
2.) Be organized. Once the custard has been made, chilled, and it’s time to make the ice cream, the necessary equipment should be ready and lined up. In other words, have the ice cream storage container set aside, and have a designated place in the freezer ready for the finished product. Further, while the ice cream is churning, use this time to break up the cake so it’s ready on time. Why do I put emphases on being organized? With ice cream, working swiftly ensures the ice cream will have a creamy—not icy—texture. We don’t want the ice cream to melt before it finally lands in the freezer.
3.) Don’t skip the custard. For true quality ice cream—one that mimics your local ice cream shop, the custard base is critical. By making a custard, the ice cream will be smooth, creamy and not have that waxy coat your mouth feeling non-churned ice creams often have.

Shortcuts
It’s no secret I love homemade cake, but for this recipe, a boxed vanilla cake can certainly be used. One could even use a small premade vanilla cake at the grocery store to swirl into the ice cream. I love when things are purely homemade, but sometimes we don’t have the time, and knowing what shortcuts are possible, can be helpful and convenient. Further, feel free to get creative with the sprinkles. Just keep in mind that certain sprinkle varieties can bleed, so using a light hand when mixing helps prevent color from spreading. These are the sprinkles I use. They don’t typically bleed color, they hold up well while baking, and still offer a nice crunch when eating.
Final Tip
Once the ice cream has been properly placed in the freezer, it will take several hours before it is firm and ready to enjoy. If a softer consistency is desired, feel free to enjoy it earlier. When making homemade ice cream, I always buy sugar cones at the local grocery store. They are inexpensive and make the whole experience feel fun and special.
Sprinkle Cake Ice Cream

Ingredients
- 1/4 cup butter, softened
- 2 tablespoons canola oil
- 3/4 cup sugar
- 1 egg + 1 egg white, room temperature
- ½ tablespoon pure vanilla extract
- 1 cup all-purpose flour
- ½ teaspoon baking powder
- 1/4 teaspoon baking soda
- 1/4 teaspoon salt
- 1/2 cup buttermilk, room temperature
- ¼ cup rainbow sprinkles
- 5 egg yolks
- 3/4 cup granulated sugar
- 2 cups heavy cream
- 1 1/2 cups whole milk
- pinch of salt
- 1 tablespoon vanilla
- Additional sprinkles, if desired
Instructions
- Preheat oven 350 degrees F. Generously butter and flour one 9” cake pan. To guarantee the cake won't stick, line the bottom of the greased cake pans with parchment paper rounds. Set aside.
- In a mixer, fitted with the paddle attachment, cream the butter and sugar on medium speed for 3 minutes. Drizzle the oil into the bowl on medium-low speed. Once incorporated, turn the mixer back to medium speed for another 2 minutes.
- Add egg and egg white one at a time, briefly mixing batter on medium speed until smooth, scraping the bowl after each egg addition. Add vanilla and mix until incorporated.
- In a separate bowl, sift together the flour, baking powder, baking soda and salt. Spoon and level the flours for an accurate measurement.
- Add buttermilk into a glass measuring cup. Alternating between the dry ingredients and the buttermilk, add 1/3 of flour into the mixing bowl on low speed. Immediately follow with 1/2 of the buttermilk, followed by another 1/3 of the flour and the second 1/2 of the buttermilk. Finish with the remaining flour mixture. The mixer should be kept on low speed, so the flour and liquid don't splash out of the bowl. Scrape the bowl, making sure any dry ingredients trapped at the bottom are brought to the top and briefly mix one more time. Fold in rainbow sprinkles until just incorporated.
- Pour batter into prepared pan and bake. Start assessing your cake at 20 minutes, but they could take up to 25 minutes or longer to bake, depending on your oven's temperature. When a toothpick inserted comes out clean, the cake is done. Cool pans for 10 minutes, before running a knife around the edge of the pan, and turning out the cake. Place cake on wire rack to finish cooling. Once cake is cooled, cover with saran wrap and refrigerate until ready to crumble for ice cream.
- In a medium bowl, thoroughly whisk together the sugars and egg yolks. The mixture will seem very thick at first, but as it's whisked, the mixture will break down a bit, lighten and become looser in consistency. When ready, the mixture should fall off the whisk like a ribbon when lifted.
- Using a medium sauce pan, heat the heavy cream, milk and generous pinch of salt on medium heat until hot and steamy, but NOT boiling. Stirring regularly with a spatula.
- When the milk is hot and steaming, using a ladle, slowly transfer, and whisk a ladle full of the hot mixture into the egg and sugars, tempering the egg. Do this with one more ladle of hot liquid.
- Once tempered, slowly add the tempered liquid back into the hot pot, stirring constantly. Stir the liquid until it becomes a custard; meaning, the liquid has thickened enough to coat a spatula. During this time the sauce pan should always stay under a boil. Be patient, as this process can take 10 minutes or longer, but watch carefully, in case it thickens faster than usual.
- Once thickened, and generously coating the spatula, strain the custard through a fine mesh sieve into a large bowl, catching any bit of cooked egg. Stir vanilla into the strained custard. Let the custard cool for a few minutes before transferring the mixture into a large zip lock bag. Store in the fridge for several hours. Best overnight.
- Once the custard has properly chilled, set up the ice cream mixer, and churn the ice cream according to the manufacturer’s instructions.
- While the ice cream is churning, using a medium bowl, break the sprinkle cake into various size chunks. Some small and large, to give varying texture to the ice cream. Set aside in fridge.
- When the ice cream has formed the consistency of soft serve, slowly add additional sprinkles, if desired. Once the sprinkles are distributed, swiftly transfer half the churned ice cream to a container. Distribute the desired amount of cake chunks. Cover with the rest of the ice cream, spreading it around a bit as needed. Top with a few extra cake chunks and sprinkles, if desired. Place a lid on top and chill in the freezer for several hours, to firm up. For a nice firm ice cream, this process could take five to six hours, or even longer depending on the temperature of the freezer.
You May Like These…