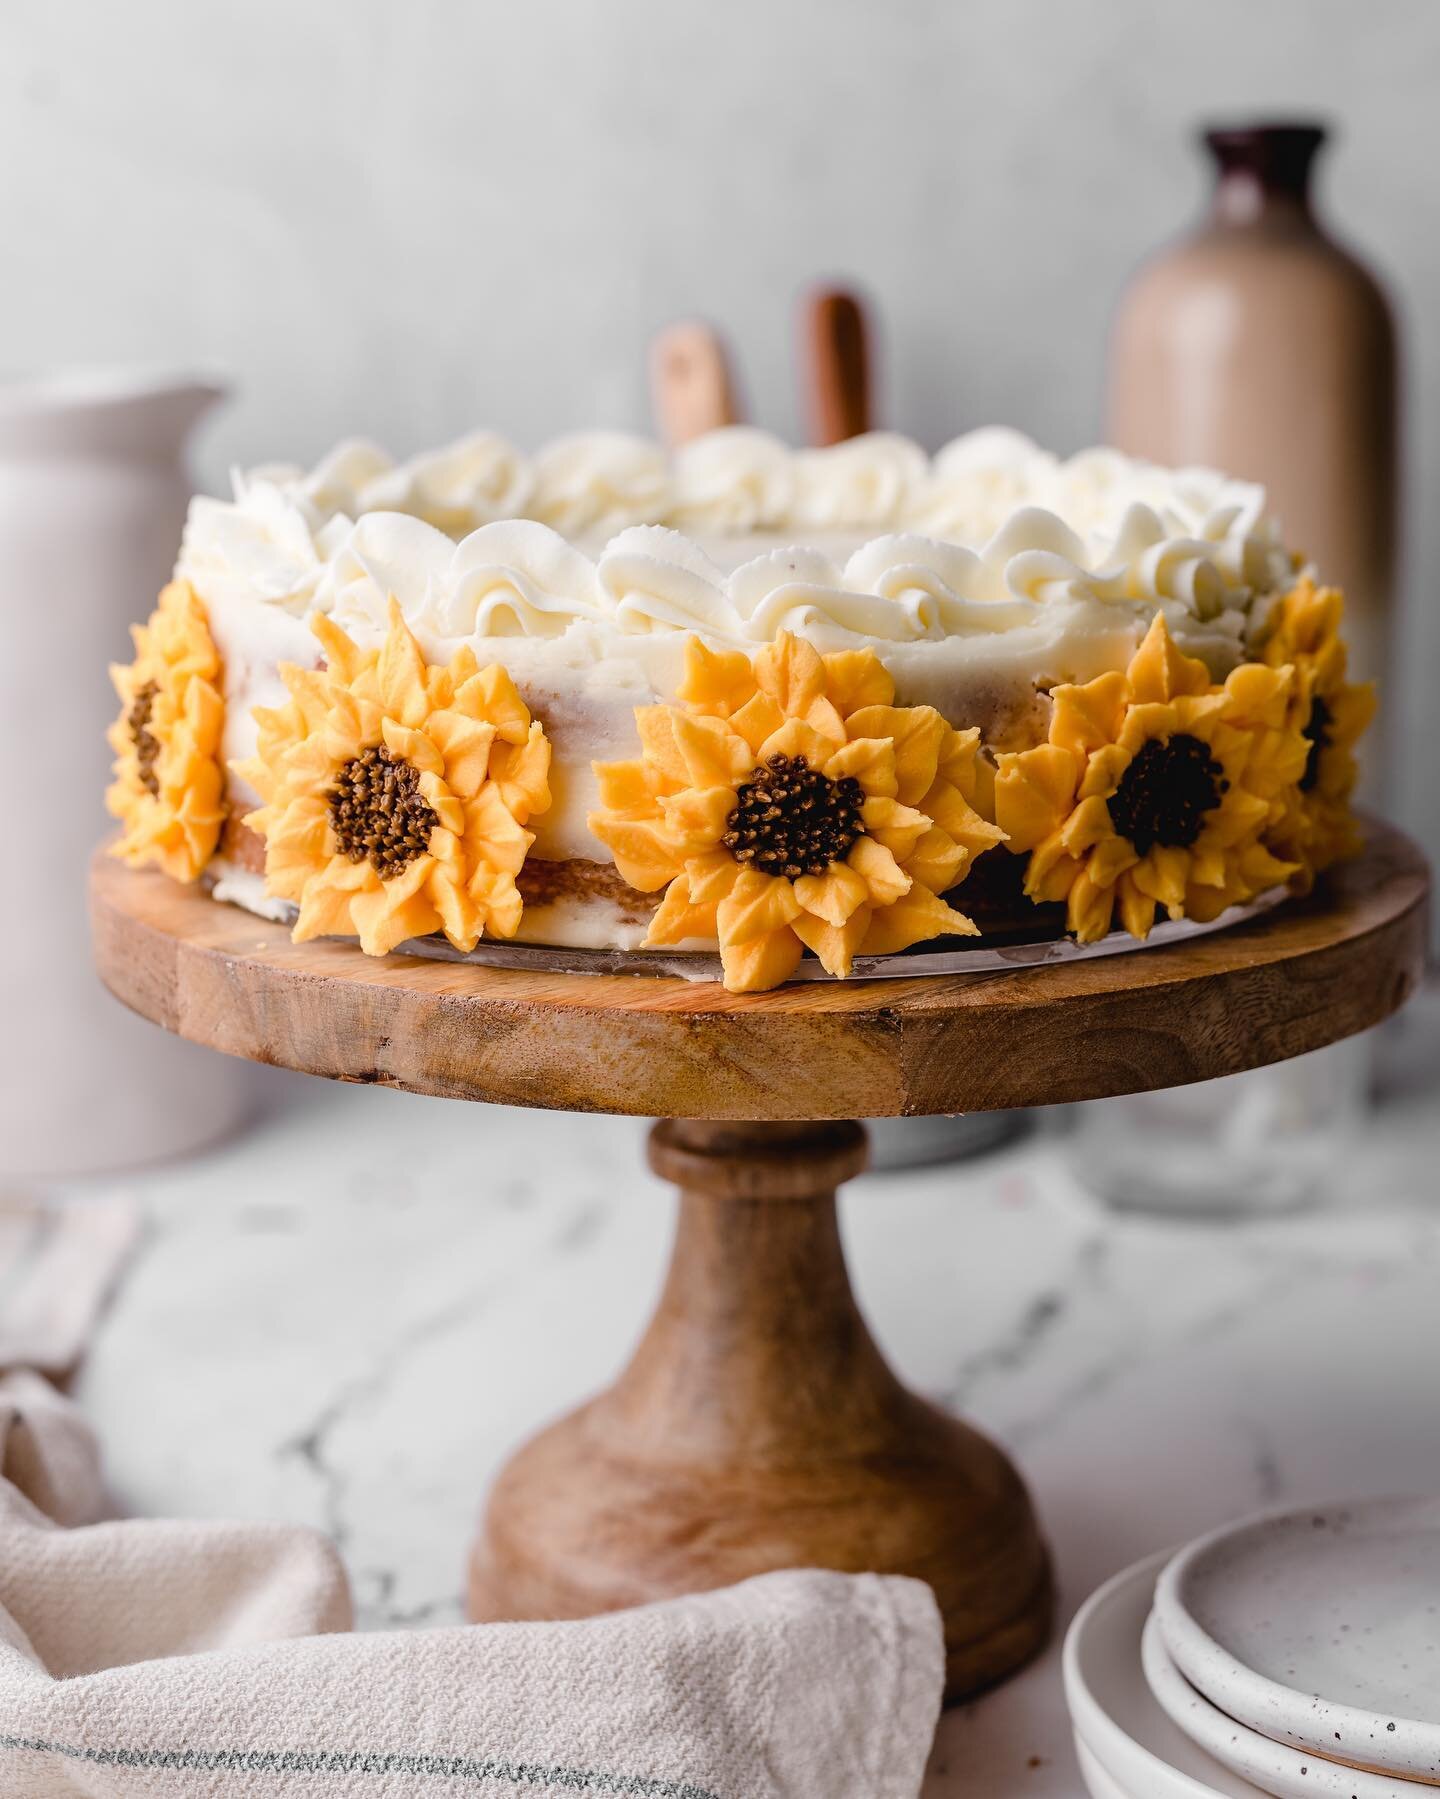
Marbled Vanilla Cake with Raspberry and Rose Water Buttercream
This marbled vanilla cake is not only beautiful, but boasts flavors like raspberry and rose water, making it uniquely perfect for any special occasion.
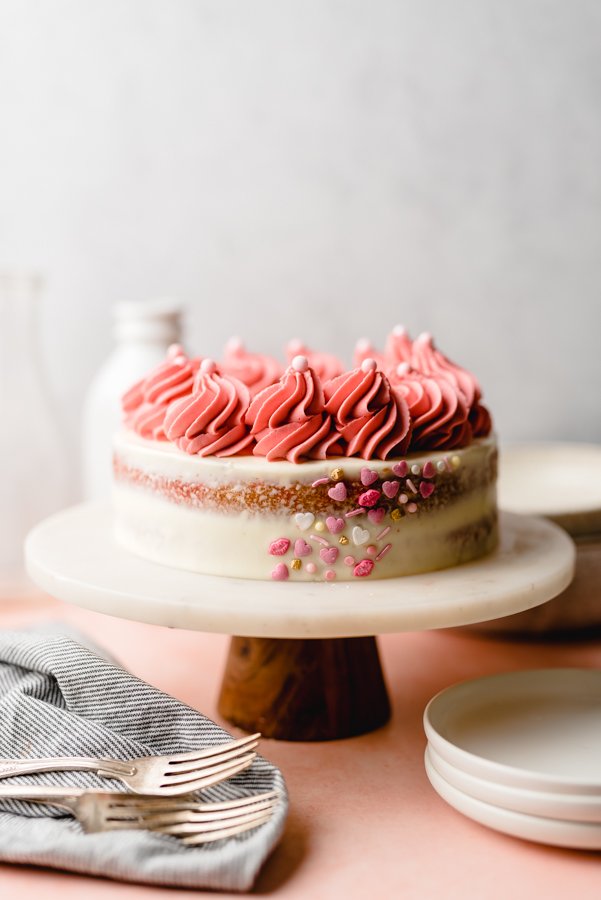
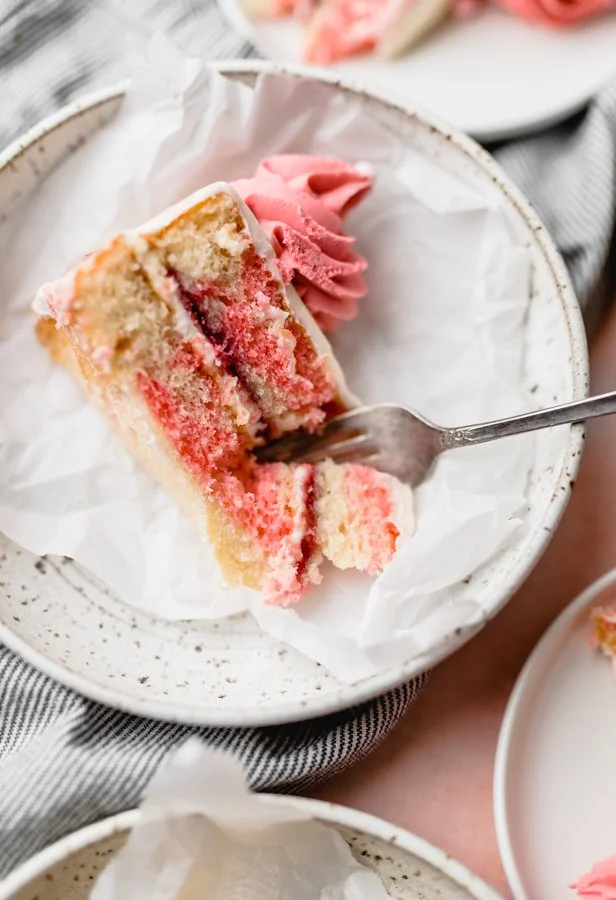
While this cake would certainly be perfect for Valentine’s Day, it’s so much more than that. Aside from its initial beauty when sliced, the flavor is just lovely, boasting the combination of vanilla, raspberry and rose water. Let’s dive right into what makes this cake special.
What Makes This Cake Special?
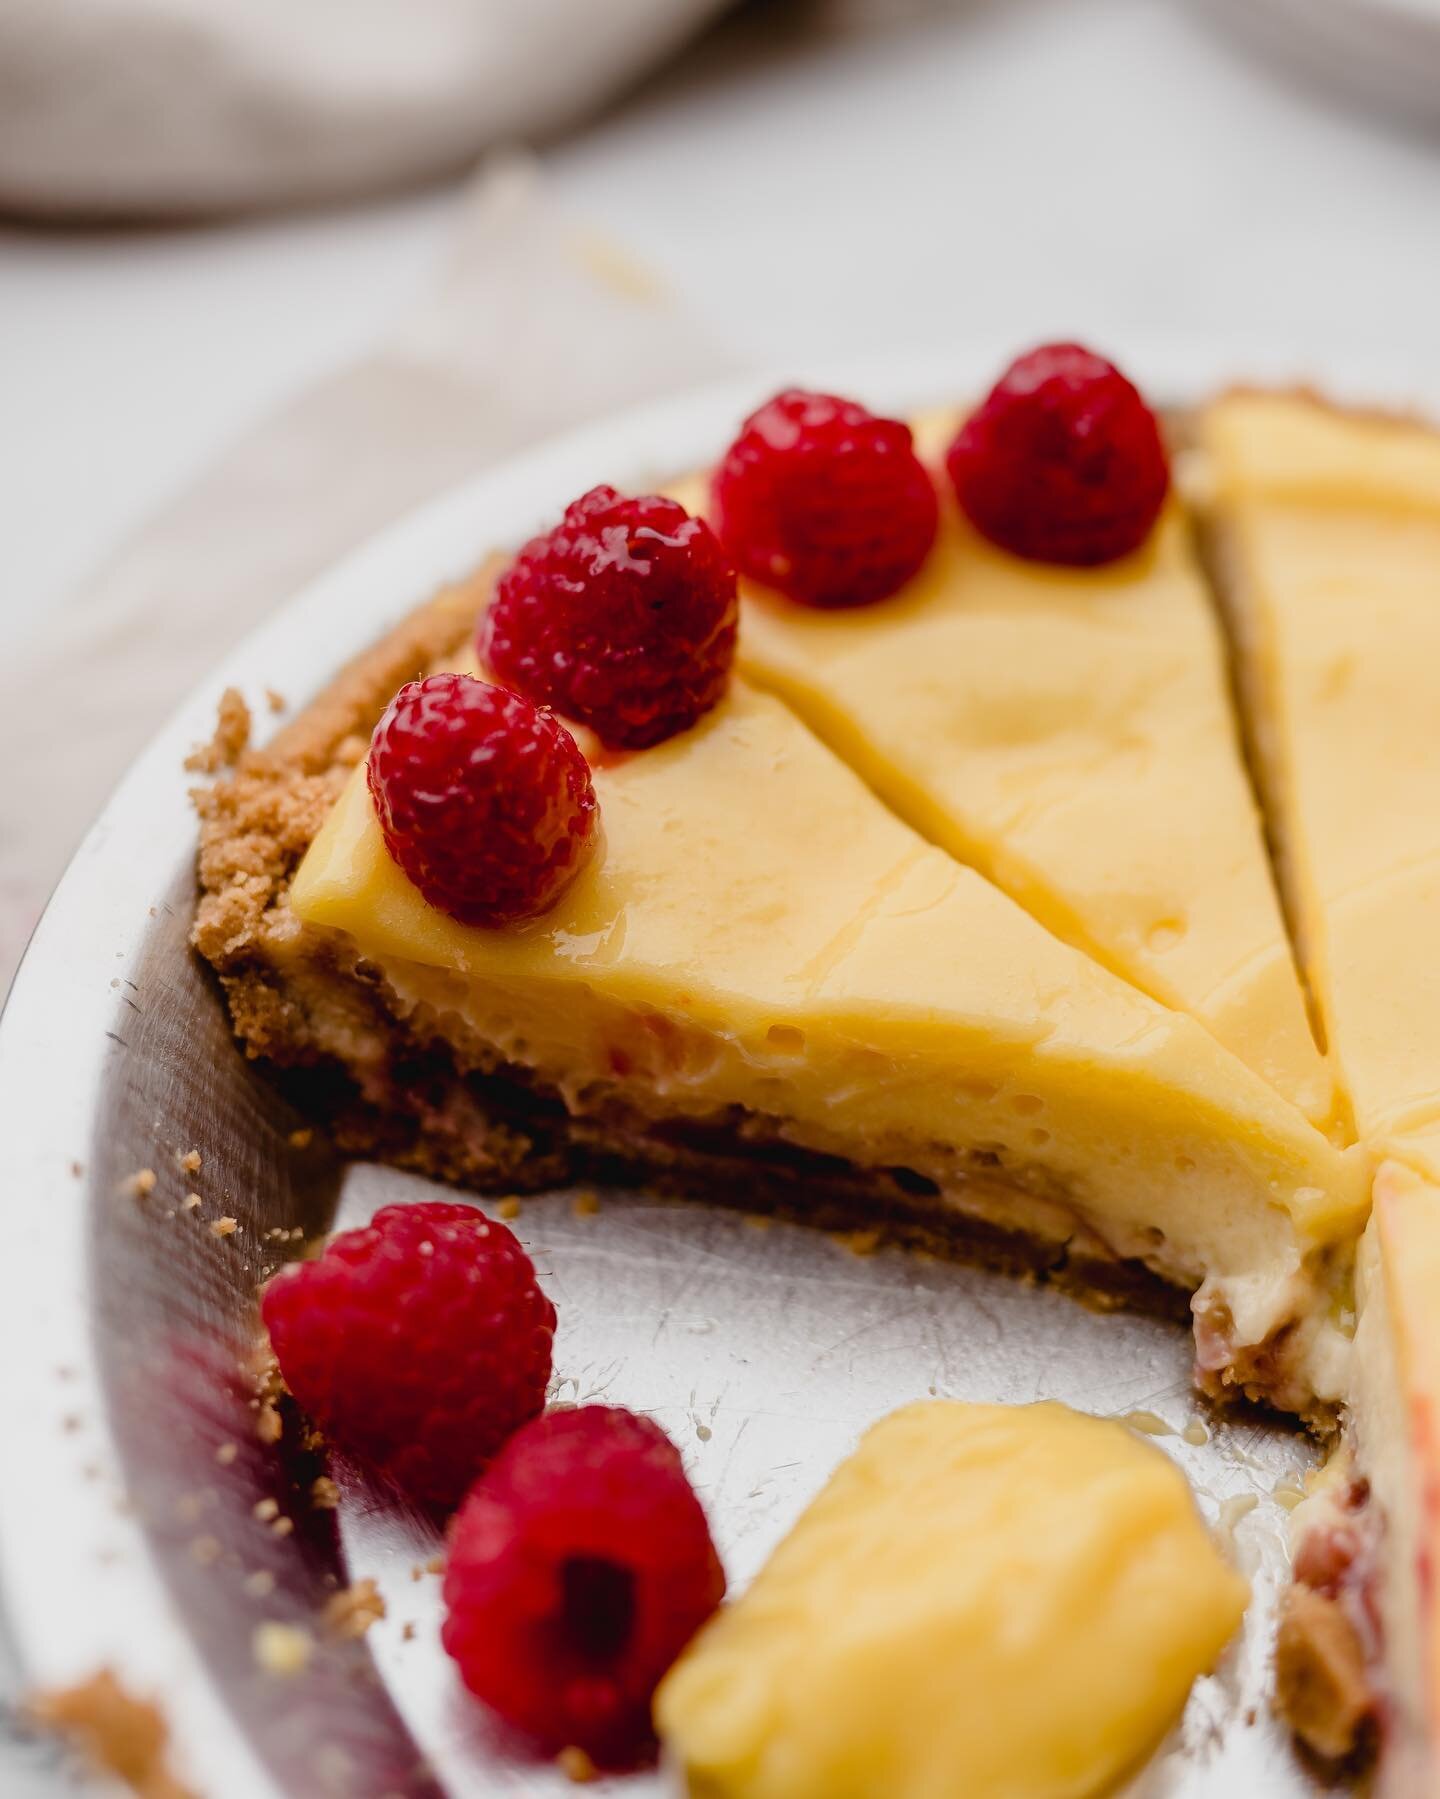
As mentioned above, the appearance of this cake is one of its best attributes, but without a beautiful flavor—and a tender crumb—it would fall flat. With a whole tablespoon of quality vanilla extract, the combination of both oil and butter, and the combination of all-purpose flour and cake flour, it’s just perfect. The recipe calls for raspberry jam (you could certainly make raspberry curd if desired,) and has a rosewater cream cheese icing that fills and surrounds the cake. The rosewater, raspberry and vanilla combination is such a lovely pairing.
Marbling The Cake
Marbling the cake is probably the trickiest part of this recipe. As with all my cakes, great effort is put into adding air into the batter—this yields a tender crumb. By adding food coloring into half the batter, it runs the risk of deflating the air, making the crumb not quite as delicious. To avoid this, use a light touch when folding in the food coloring. Further, when using gel food coloring, only one drop is needed—a little bit goes a long way. Once the food coloring is added, fold it into the batter until just incorporated. By doing this, the difference in structure between the plain and tinted cake is minimal. This is the food coloring I use.
The Art Of Vanilla Cake
The first recipe I ever developed was this base vanilla cake. Why? Why the most basic of flavors? I’ll tell you why. I found vanilla cake recipes—especially those on the first page of google—were crap. I can’t guarantee the individuals who make my recipes will do it correctly, but every time I make this cake, it is always complimented, and the recipe is always requested. I love to hear it, because I recipe tested this vanilla cake a lot, and I mean a lot.
I knew what I wanted from a texture perspective, but each time I made someone else’s recipe, I wasn't happy. I found the balance of butter and oil is key, and the combination of cake and all purpose flour, accompanied by full fat buttermilk, yields the best vanilla cake. It’s funny because almost all vanilla cakes have similar ingredients, but it’s those little nuances, that make one recipe stand out from another. After making this recipe hundreds of times, I feel confident when I serve this recipe to friends and family—that is a good feeling.

What is Rose Water?
Rose water is exactly as it sounds—dried rose petals that are heated or steamed with water, encapsulating a floral flavor. A little rose water goes a long way, so for this recipe, I only call for 1/4 teaspoon. This is the rose water I use. When purchasing rose water, make sure it’s food grade.
Final Tip
This is my first time sharing my base vanilla cake, and I will continue to share variations of this recipe. But feel free to experiment with it, adding sprinkles, or scraping in vanilla bean for a boost of vanilla flavor. From my kitchen to yours, enjoy.
Marbled Vanilla Cake

Ingredients
- 1/2 cup butter, softened
- 1/4 cup canola oil
- 1 1/2 cup sugar
- 3 eggs, room temperature
- 1 tablespoon pure vanilla extract
- 1 cup all-purpose flour
- 3/4 cup cake flour
- 1 teaspoon baking powder
- 1/2 teaspoon baking soda
- 1/2 teaspoon salt
- 1 cup buttermilk, room temperature
- Raspberry Jam
- 8 ounce block cream cheese, softened
- 1 stick butter, softened
- 3-4 cups powdered sugar
- 1/4 teaspoon rose water
Instructions
- Preheat oven 350 degrees F. Generously butter and flour two 9" cake pans. To guarantee the cake won't stick, line the bottom of the greased cake pans with parchment paper rounds. Set aside.
- In a mixer, fitted with the paddle attachment, cream the butter and sugar on medium speed for 3 minutes. Drizzle the oil into the bowl on medium-low speed. Once incorporated, turn the mixer back to medium speed for another 2 minutes.
- Add eggs one at a time, briefly mixing batter on medium speed until smooth, scraping the bowl after each egg addition. Add vanilla and mix until incorporated.
- In a separate bowl, whisk together the flours, baking powder, baking soda and salt. Spoon and level the flours for an accurate measurement.
- Add buttermilk into a glass measuring cup. Alternating between the dry ingredients and the buttermilk, add 1/3 of flour into the mixing bowl on low speed. Immediately follow with 1/2 of the buttermilk, followed by another 1/3 of the flour and the second 1/2 of the buttermilk. Finish with the remaining flour mixture. The mixer should be kept on low speed, so the flour and liquid don't splash out of the bowl. Scrape the bowl, making sure any dry ingredients trapped at the bottom are brought to the top and briefly mix one more time.
- Pour half of the batter, split between the two pans. With the remaining batter, add one drop of gel food coloring (I used Dusty Rose by Americolor). Gently mix in the food coloring until just incorporated. Don't overmix here. Once mixed, distribute the colored batter into two pans with plain batter. Using a toothpick or skewer, gently swirl the two colors together. Don't overdue here, as you want there to be definite white and pink swirls.
- Place pans into oven. Start assessing your cakes at 20 minutes, but they could take up to 25 minutes or longer to bake, depending on your oven's temperature. When a toothpick inserted comes out clean, the cake is done. Cool pans for 10 minutes, before running a knife around the edge of the pan, and turning out the cake. Place cake on wire rack to finish cooling. Once cake is cooled, cover with saran wrap and refrigerate for at least 1 hour. This step is optional, but makes icing the cake easier.
- With an electric mixer fitted with the paddle attachment, mix the cream cheese and butter on medium speed until there are no lumps, and the consistency is smooth. Add rose water and mix until incorporated.
- Add sifted powdered sugar to the bowl, 1 cup at a time, mixing first on low speed to prevent splashing, then turning the mixer to medium-low until it's incorporated. Repeat process with remaining 2 cups of powdered sugar. Briefly mix one more time to complete the icing. For a fluffier icing, the whisk attachment can be used.
- Place one layer of cake on a clean turn table or cake board with a small dollop of icing underneath. This works as a glue, helping prevent the cake layers from sliding around while icing. Place a dollop of icing on top of the first cake layer, and spread evenly with a small offset spatula or knife. Place a few spoonfuls of raspberry jam, and gently spread on top of the rose water icing. place the second layer, placing a large dollop of icing onto the top of the cake, smoothing evenly, letting excess icing drop to the side of the cake.
- With the rest of the icing, using an offset spatula, put a even layer of icing around the entire cake, with a back and forth motion.
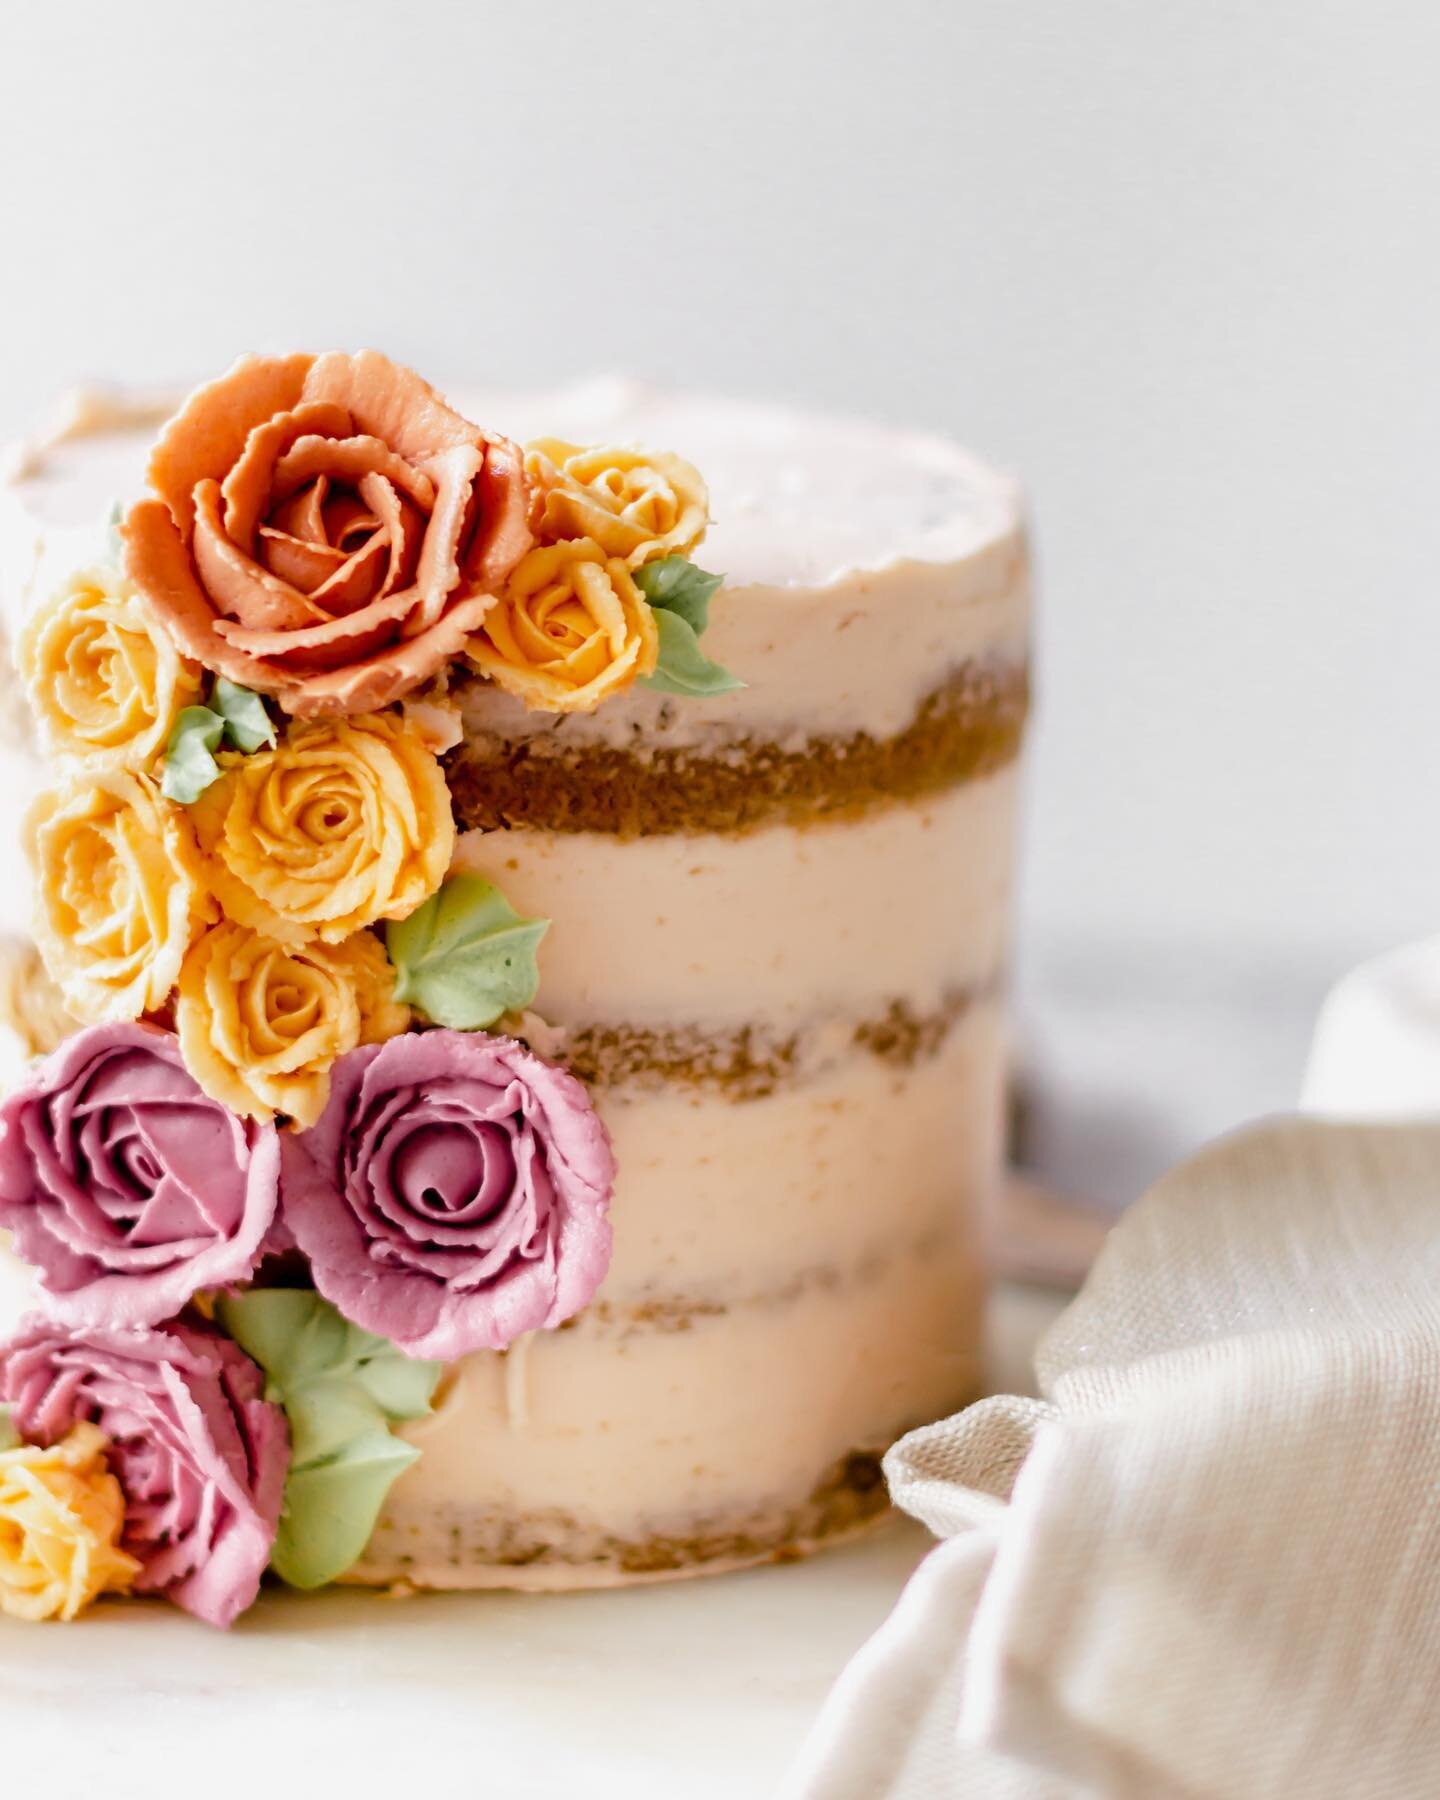
- Using a bench scraper (also known as cake smoother) with your dominant hand, hold it steady against the cake, but slightly angled toward the cake, to aid in smoothing, and slowly move the turn table with the other hand, while not moving the scraper, and keeping it as straight and steady as possible. As excess icing builds on the scraper, place it back into the mixing bowl, and continue smoothing the cake with a clean scraper. This cake is intended to be semi-naked, so as you scrape the excess icing off the cake, bits of the cake underneath will be exposed. See blog pictures for reference.
- While smoothing the sides, a lip of icing will form around the top of the cake. Using an offset spatula, gently sweep away the lip with a motion toward the center of the cake. Rotate the cake, and sweep until the lip has been removed, and top of the cake is smooth. Any leftover icing can be used to decorate the cake with a beaded boarder, or another decoration of choice. Store cake in the refrigerator until 2 hours before serving.
You May Like These…