Holiday Brownies
Thick, fudgy and packed with chocolate, these holiday brownies can be customized however desired for the ultimate Christmas dessert.
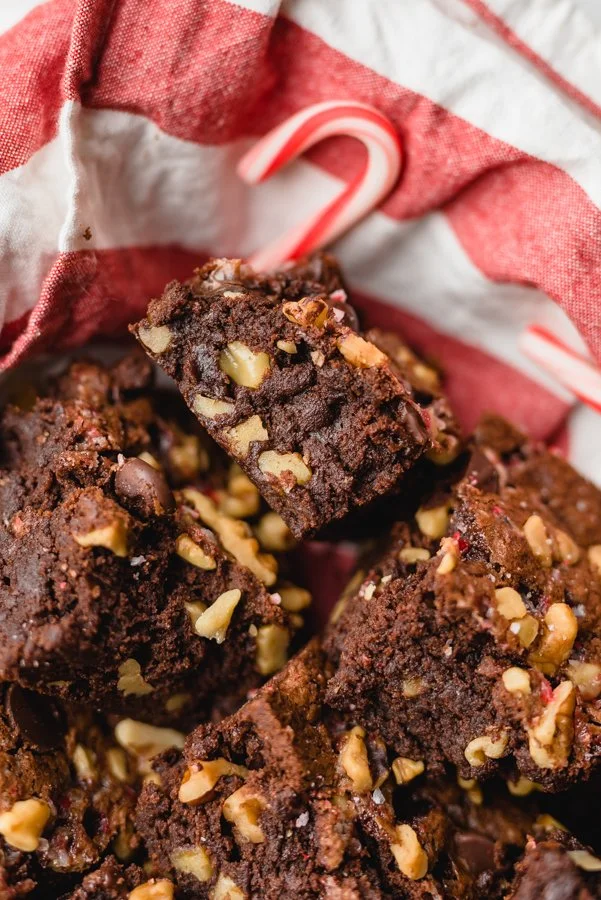
I call these “Holiday Brownies” because they are meant to be festive; from sprinkles, candy canes, you name it, these brownies can be decorated any way the heart desires. I decided to add walnuts to the brownie base and then top them with additional walnuts, bittersweet chocolate chips and crushed candy canes. The peppermint flavor wasn’t overpowering, but they were still Christmas forward and the perfect holiday dessert. Let’s dive into what makes these brownies special.
What Makes These Brownies Special?
Firstly, they are easy to make and the ingredient list includes mostly pantry staples: butter, sugar, eggs, flour and chocolate…..lots of melted chocolate (yum). They are flavored with vanilla and crushed candy canes, which can be added to the top or additionally folded into the batter. My brownie recipe doesn’t call for cocoa powder, but instead uses lots of melted chocolate to give them a wonderful chocolatey flavor. Baking them in a 9x9 pan makes them thick and fudgy—my favorite way to eat a brownie. Oh, and did I mention they are just as delicious second day? Letting them completely cool is what gives them their signature texture, but I won’t blame you for diving in while the brownies are still warm.

Salted vs. Unsalted Butter
Baking with salted vs. unsalted butter is a personal choice. I often baked with salted butter because I enjoy salt and feel salt elevates flavor, but because these brownies call for 1 cup of melted butter, I put unsalted butter as the standard for the recipe. This is to protect those that are sensitive to salt, but feel free to baked with salted butter if that is the preferred method. I have made this recipe with both unsalted and salted butter both are delicious.
Tips For Making Holiday Brownies
1.) Line the 9x9 baking pan with parchment paper. This allows for easy lifting and cutting of the brownies.
2.) When the butter and chocolate is melted, make sure it is cooled before mixing with the remaining ingredients. If it’s too hot, the brownies will not bake properly.
3.) Choose quality chocolate. Because chocolate is the main star in this recipe, choose a quality chocolate baking bar (not chocolate chips melted). Brands I recommend are Scharffen Berger, Ghirardelli, Guittard and Lindt. The Pound Plus bars at Trader Joes are also an excellent choice.
4.) When checking if the brownies are finished baking, the toothpick inserted shouldn’t be wet, but should still have a few crumbs. If the toothpick inserted comes out clean, the brownies are over baked. Toward the end of baking, I always check the brownies at intervals so they don’t over bake.
5.) The brownies can be served warm, but should be allowed to cool at least 30 minutes before enjoying. Ideally one to two hours, or even longer. As mentioned previously, these brownies are still delicious second day and can be made a day ahead if desired.

Properly Measuring Flour
Many seasoned bakers recommend weighing ingredients for optimal accuracy—this isn’t bad advice. I do have a scale, and for macarons, and other delicate pastries, I do weigh ingredients. But for brownies, I find spoon and leveling the flour a sufficient technique, for the most part. Simply, fluff the flour gently, and using a spoon, spoon the flour into the measuring cup, and once it’s domed over the measuring cup, simply scrape away the excess flour with a knife back into the bulk flour. Why is this important? Too much flour is a nasty culprit of many baked goods going awry, creating heavy, dense and dry bakes. Measuring the flour correctly provides a whole new world of baking—yielding light desserts that are delicate and delicious.
Final Tip
Feel free to get creative with this recipe adding whatever toppings or add ins you like. Yummy additions include, pretzels, peppermint extract, marshmallows, sprinkles or frosting. These are just to name a few. Have fun with it!
Holiday Brownies

Ingredients
- 1 cup unsalted butter, cut into squares
- 10 ounces bittersweet chocolate
- 1 cup granulated sugar
- 3/4 cup brown sugar, packed
- 4 eggs, room temperature
- 2 teaspoons vanilla
- 1 1/4 teaspoon salt
- 1 1/4 cups all-purpose flour
- 1 1/2 cups Diamond of California Chopped Walnuts
- 1/4 cup semi sweet chocolate chips
- 1/3 cup crushed candy canes
Instructions
- Preheat oven to 350 degrees F. Grease or line a 9x13 inch pan with parchment paper for easy lifting and cutting.
- Using a medium sauce pan, heat the butter and chopped chocolate over medium-low heat stirring until melted. Set aside to cool. Transfer chocolate to a stand mixer fitted with the whisk attachment. Whisk in the sugars until combined. Add eggs, one at a time, whisking well after each addition. Add the vanilla and salt and mix until combined.
- Using a fine mesh sieve, sift the flour over the brownie batter, into the mixing bowl. Using a spatula, fold in the flour until just combined. Add the chopped walnuts and fold into batter until evenly distributed.
- Pour the batter into the prepared pan and using an offset spatula, spread the batter to the corners of the pan. Top with additional walnuts, chocolate chips and crushed candy canes.
- Bake the brownies until a toothpick inserted comes out with just a few crumbs, about 40-45 minutes. You don't want the toothpick too wet and gooey, but a completely clean toothpick means the brownies may not be as fudgy as desired. Let brownies cool completely before lifting parchment from the pan. Cut into squares and enjoy.
You May Like These…